
How to Inspect a Used Car Before Buying in NYC
You’re standing on a fluorescent-lit dealership lot in Queens, trying to decide whether the clean-looking SUV in front of you is a solid buy or a polished problem. The seller is ready with keys, the car has been warmed up, and someone is already asking whether you want to leave a deposit. That’s exactly when buyers skip the checks that matter.
Learning how to inspect a used car before buying means more than looking for scratches and taking a quick loop around the block. In New York City, you need to account for salted winter roads, flood-prone parking areas, tight lots, poor lighting, rushed dealer appointments, and private sellers who prefer evening curbside viewings. Use the inspection to decide whether the car deserves a professional evaluation, not to talk yourself into a purchase.
Table of Contents
- Planning Your Inspection Before You Hit the Lot
- Walking the Exterior and Underbody in NYC Conditions
- Popping the Hood and Checking Fluids and Components
- Inside the Cabin, Electronics, and the OBD Scan
- The Test Drive as a Four-Stage Diagnostic Route
- Dealer vs Private Party and the Paperwork Stack
- Red Flags, Negotiation Leverage, and the Pre-Purchase Mechanic
Planning Your Inspection Before You Hit the Lot
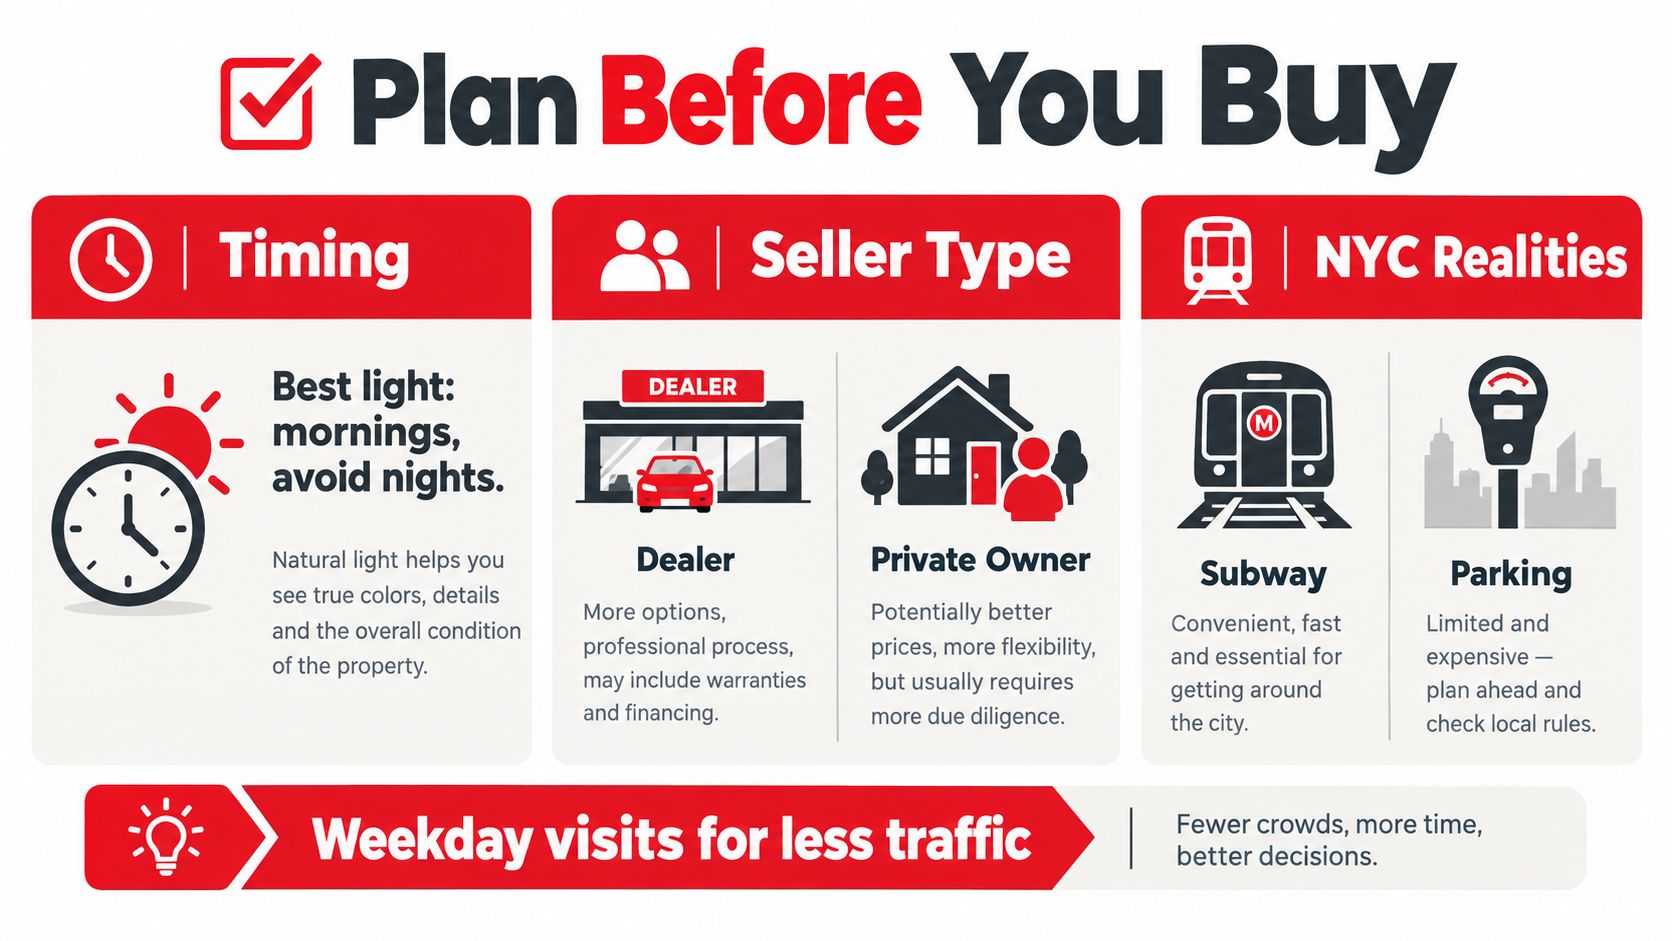
A good inspection starts before you leave your apartment. If the seller wants to meet after dark under streetlights, push for a daytime appointment. Bright sunlight reveals paint differences, dents, rust bubbles, and glass damage that fluorescent lighting can flatten. Consumer Reports recommends inspecting a used car in broad daylight on a dry day, on a level surface, and without driving it for at least an hour beforehand. Its used-car inspection guidance gives you the right decision context, especially when a seller has already warmed up the engine.
Weekday visits usually give you more room to think than crowded weekend appointments. Saturday morning is generally more useful than Friday night because you can see the vehicle properly, ask for a cold start, and still arrange an independent inspection before service shops close. A dealer may let you inspect the car on the lot, but that doesn’t mean you can take it apart or keep it all afternoon. Ask in advance whether you can drive it to a nearby mechanic or have a mobile inspector meet you.
Bring a compact inspection kit
You don’t need a full garage in your backpack. Bring:
- Lighting: A bright flashlight helps you inspect wheel wells, door jambs, the spare-tire well, and underbody edges.
- Paint check: A small magnet can identify areas where thick body filler may have replaced damaged metal. Keep it away from plastic panels and understand that aluminum or composite bodywork won’t respond normally.
- Visibility: A small inspection mirror lets you see behind brackets, beneath components, and around exhaust hangers.
- Documentation: Use your phone for photographs, notes, a VIN decoder, and an already-open paid Carfax or AutoCheck report.
- Reference details: Save the listing, advertised equipment, mileage, and seller messages so you can compare them with the car and paperwork.
Walking the Exterior and Underbody in NYC Conditions
Start on flat pavement and stand several feet away. Check whether the car sits evenly, whether one corner sags, and whether the body lines look level from front to rear. A car parked partly on a curb can hide a suspension problem, so ask to move it to a flat surface before judging its stance.
Walk the perimeter slowly, one panel at a time. Look along the side reflections for waves, then inspect hood, doors, fenders, quarter panels, bumpers, and the roof. Uneven panel gaps, mismatched paint sheen, overspray on rubber trim, and a different orange-peel texture can indicate previous bodywork. Repainted panels aren’t automatically a deal-breaker, but the seller should explain them and the history report should support the explanation.
Practical rule: Never evaluate paint under one light source. Change your angle, move into daylight, and compare adjacent panels.
NYC’s winter salt makes the lower body more important than the glossy hood. Run the magnet along rocker panels, wheel arches, and lower quarter panels, where filler and corrosion often hide beneath road grime. Look for bubbling paint, flaking metal, crust around fasteners, and rust extending from the underside upward. Flood-prone parking areas create a different risk, so inspect door bottoms, drain areas, wiring near the lower cabin, and any residue that looks like dried silt.

Check all four tires for even wear, sidewall cracks, bubbles, and mismatched brands or sizes. Edge wear can point toward alignment or suspension trouble, while center wear can indicate overinflation. Look through the wheels for a pronounced brake-rotor lip, then inspect glass dates, cracks, pitting, and window operation.
Finish with the flashlight. Scan underbody edges, floor seams, the exhaust, hangers, suspension components, CV-boot areas, and the engine cradle. Fresh black undercoating can hide corrosion rather than fix it. Pay attention to crust, wetness, bent metal, missing covers, and fasteners that look newly disturbed.
Popping the Hood and Checking Fluids and Components
A hood pop isn’t an inspection. Start with the engine cold whenever possible, because a warm engine can conceal hard starting, rough idle, smoke, and fluid behavior. Ask the seller not to start the car before you arrive, and verify that the engine feels cold by placing your hand near a safe, nonmoving metal area.
Pull the oil dipstick, wipe it, reinsert it, and read the level. Oil should be at the proper mark and free from an unusual milky or creamy residue. Milky contamination can signal coolant mixing with oil, although a small amount of moisture under a filler cap can have other explanations. Check the coolant reservoir for the correct level, contamination, oily film, or residue around the cap and hoses.
Inspect the belts for cracks, fraying, and glazing. Squeeze accessible hoses for obvious softness, swelling, or collapse, but don’t force brittle parts. Look at the battery terminals for corrosion, check its date label if visible, and make sure the hold-down is secure. Fresh paint on engine-cradle bolts, undertray fasteners, or surrounding brackets deserves questions about prior engine removal or front-end repair.
Under-hood fluid quick reference
| Fluid | What to Look For | Red Flag |
|---|---|---|
| Engine oil | Correct level, consistent color, no obvious contamination | Milky residue, very low level, or metallic debris |
| Coolant | Proper level, clean reservoir, no oily film | Oil-like film, heavy staining, or an empty reservoir |
| Transmission fluid | Correct level where a dipstick is fitted, no burnt odor | Very dark fluid, low level, or delayed engagement |
| Brake fluid | Level between marks and no obvious contamination | Low reservoir, dark fluid, or wetness around components |
| Windshield washer fluid | Reservoir present and no leaking | Empty system paired with neglected maintenance signs |
Listen during idle. Sharp ticking, exhaust whistling, belt squeal, or a rhythmical knock needs diagnosis, not a casual seller explanation. Don’t reach near fans, belts, or pulleys while the engine runs. With the engine off, inspect the fan and accessible components visually rather than taking risks with moving parts.
Inside the Cabin, Electronics, and the OBD Scan
Treat the cabin as evidence, not decoration. Sit in every seat, remove the floor mats, press into the carpet, and inspect the padding where accessible. A musty smell, water staining, silt lines, dampness, or mismatched carpet can indicate prior water exposure. Lift the spare-tire cover and inspect the well for moisture, rust, residue, or recently replaced trim.
Flood damage often appears first as an electrical pattern. Test power windows, locks, mirrors, seat controls, seat memory, interior lights, wipers, horn, infotainment, USB ports, climate controls, heated seats, backup camera, and driver-assistance sensors. Run both heat and air conditioning, and watch whether screens flicker, cameras fail, or warning messages appear after the vehicle has been operating.
Read the car’s stored evidence
Turn the ignition on before starting and confirm the warning lights illuminate for their self-check. After starting, the airbag, ABS, battery, oil, temperature, and check-engine indicators should behave consistently with the vehicle’s system. A light that never appears may have been disabled, while a light that stays on requires an explanation and diagnosis.
Connect a standalone OBD-II scanner. The dashboard light only tells you what the car is currently announcing. A scanner can reveal current and pending codes, and it may show readiness information that helps identify a recently reset system. A cleared code can hide a fault that returns after a short drive, so scan before and after the test drive when possible.
Verify that the VIN shown by the scanner matches the dashboard and door-jamb plate. The used-car inspection red-flag sequence places VIN consistency, body inspection, fluid checks, cold-start behavior, and OBD scanning in one logical workflow. That sequence is more useful than treating cosmetics, electronics, and diagnostics as unrelated chores.
The VIN, mileage, codes, and warning-light behavior should tell one coherent story. If the cabin looks newly replaced, the electronics show inconsistent faults, and the seller has no explanation, stop treating the vehicle as a simple cosmetic-risk purchase.
The Test Drive as a Four-Stage Diagnostic Route
Don’t accept a drive around the block as proof that a used car is sound. Use a route that exposes different systems, and keep the radio off until you’ve listened to the engine, tires, brakes, suspension, and wind noise.
Stage one starts in the lot
Drive slowly through the lot and make tight turns. Check steering effort, looseness, clunks, brake grab, reverse engagement, and automatic-transmission creep. Roll over a small, safe pavement change or speed bump and listen for suspension knocks. The car should move predictably, without excessive body roll or repeated bouncing.
Stage two reproduces city traffic
Use stop-and-go streets that resemble your actual NYC commute. Watch the temperature gauge while idling, test acceleration from a stop, and feel for hesitation, harsh downshifts, shuddering, or delayed engagement. Switch between heat and air conditioning while moving, because an HVAC system that works while parked may perform differently under load.
Stage three reaches a faster road
A highway entry exposes vibration, alignment, wind noise, and transmission behavior that a tight dealer lot can’t show you. The vehicle should track straight, the steering wheel shouldn’t shake, and engine speed should respond consistently to acceleration. Listen around the windshield and doors for unusual wind noise, and pay attention to axle or differential whine that rises with speed.
Stage four adds an incline
A hill or parking-garage ramp loads the transmission, brakes, and cooling system. Look for slipping, delayed engagement, pulling, brake fade, or a burning odor. Don’t abuse the car or create an unsafe maneuver. You’re looking for normal response under ordinary urban conditions.
After parking, walk around again. Check for fresh drips, hot oil or coolant smells, exhaust odor in the cabin, and easy restarting. Record every anomaly immediately in your phone. A symptom that disappears halfway through the drive may return after ownership, when you no longer have the seller standing beside you.
Dealer vs Private Party and the Paperwork Stack
Seller type changes your inspection strategy. A dealer generally gives you a business location, written paperwork, and a clearer place to raise a dispute, but independent dealers vary in how much history and repair detail they provide. A private seller may offer a lower asking price, but you usually have less post-sale recourse, so your verification has to be stricter before money changes hands.
New York consumer protections and used-car warranty rules can depend on the vehicle, seller, age, mileage, and transaction details. Don’t assume a dealer warranty applies to every used car, and don’t assume a private sale includes any warranty. Read the actual contract and ask what is covered, for how long, and who performs covered repairs.
Compare the transaction before comparing the price
| Factor | Franchised/Independent Dealer | Private Party Seller |
|---|---|---|
| Inspection access | Ask for a third-party inspection and review the dealer’s inspection paperwork | Arrange your own mechanic before signing or paying |
| Paperwork | Dealer prepares transaction documents, but you must review every line | Buyer must verify title, ownership, lien status, and bill of sale |
| Warranty and recourse | Coverage depends on the vehicle, warranty documents, and applicable law | Usually limited, so condition verification matters even more |
| History disclosure | Request the report, service records, and explanation for repairs | Ask the owner directly and compare answers with documents |
| Pressure risk | Deposit and financing discussions can accelerate the decision | Scarcity claims and cash-only demands can create immediate pressure |
Match the VIN on the dashboard, driver-side door jamb, and title. All three should agree. Then review the title for salvage, rebuilt, flood, or lemon-law branding, and compare the history report with service records, title transfers, accident entries, and odometer continuity.
Confirm that the seller is the registered owner or has valid power of attorney. Check for liens, outstanding parking tickets, toll violations, and other obligations before finalizing the transaction. A seller who won’t show the title, refuses a history report, or says you’ll receive the VIN after paying isn’t offering a bargain. They’re asking you to accept paperwork risk sight-unseen.
Red Flags, Negotiation Leverage, and the Pre-Purchase Mechanic
Use a three-way decision: walk away, negotiate, or inspect professionally. A dirty cabin or mismatched bumper may be negotiable. A branded title discrepancy, VIN mismatch, flood evidence, fuel mixed into oil, structural corrosion, or refusal of an OBD scan is a reason to leave.
A professional pre-purchase inspection remains the key risk-reduction step. Consumer guidance recommends having a trusted mechanic inspect a used vehicle before purchase, and consumer reporting commonly places the cost around $100 to $150. That consumer guidance explains the value of an inspection, especially for underbody corrosion, frame concerns, suspension damage, and defects a short drive won’t reveal.
A useful historical benchmark comes from Germany’s TÜV inspection tradition. The 2026 TÜV report cycle analyzed about 9.5 million periodic technical inspections, with an average 21.5% failure rate for cars with significant defects. The same report found the defect rate reached 40.4% among 12- to 13-year-old vehicles, which reinforces the need for a thorough inspection on older cars. Read the TÜV report release for its inspection findings.
Match the finding to the response
| Finding | Severity | Buyer Action |
|---|---|---|
| VIN mismatch or title-brand discrepancy | Hard stop | Leave unless the error is independently resolved before any payment |
| Flood residue, damp padding, or widespread electrical faults | Hard stop | Walk away and don’t rely on cosmetic drying or fresh carpet |
| Structural rust or fresh undercoating over corrosion | High | Require professional underbody evaluation, or leave |
| Active airbag, ABS, oil, or temperature warning | High | Don’t buy without diagnosis and a written repair plan |
| Rough idle, transmission hesitation, or fluid contamination | High | Arrange an independent inspection before negotiating |
| Mismatched paint or minor panel repair | Moderate | Compare with history, ask for records, and negotiate only if the structure is sound |
| Worn tires, brake noise, or small leaks | Moderate | Get a repair estimate and use it in the offer |
| Seller refuses inspection, scan, or title review | Hard stop | End the transaction |
Find an independent shop with experience in the vehicle’s brand, confirm what the inspection includes, and put the contingency in writing. A dealer’s purchase paperwork or a private bill of sale should state that the transaction depends on your acceptance after the inspection. Don’t let a mechanic chosen by the seller become your only source of advice.
For buyers who want a dealer route, Northstar Mitsubishi offers used and certified pre-owned inventory, vehicle inspection and reconditioning information, online scheduling, and an in-house service and parts center in Long Island City. You should still review the VIN, title, history, warranty documents, and inspection terms before buying any vehicle.
The inspection is successful when the vehicle’s condition, paperwork, seller explanation, and price agree. If they don’t agree, keep your money and keep shopping.
If you’re comparing used vehicles in Queens, Brooklyn, the Bronx, or nearby NYC neighborhoods, review the available inventory and inspection questions with Northstar Mitsubishi, then schedule a visit or service appointment before committing. Bring this checklist, request the records, and make the vehicle earn your deposit.
0 comment(s) so far on How to Inspect a Used Car Before Buying in NYC